Wednesday, July 28, 2010

Mini Cheesecakes with Apricot Jam


I love these mini cheesecakes because they are the perfect size and when finished they look like little sunny side up eggs, which is so cute for a brunch dessert! The most difficult part of making these mini cheesecakes was actually making the crust. It seems like an easy task when reading the recipe because you are supposed to use wafer cookies which you crumble. I don't always have the proper baking tools needed, so I was trying to crumble and break hard organic cookies into tiny pieces. This is kind of hard with no mallet - I'm thinking if I had one of those meat hammer things it would have made this much easier. I placed them in Ziploc baggie and tried to smoosh by hand. I also used some sort of nature whole foods type of wafer cookie, maybe these are harder then the average grocery store wafer. Also this recipe called for chocolate wafer cookies but I used vanilla bean instead, which for me was a better choice, I think with the chocolate they may have been too sweet for me.

After making the cheesecakes I kept them in the fridge overnight before making the Apricot Jam topping. I held off making the topping until I was about ready to serve them. I had a mini strainer for this, which actually worked out quite well for me, but I think a big one would be just fine as well. I would love to make these over and over, varying the jam topping.

Mini Cheesecakes with Apricot Jam - Martha Stewart

Makes about 18

3/4 cup crumbled chocolate-wafer cookies (or vanilla)
1/2 cup plus 1 tablespoon plus 1 teaspoon sugar
3 tablespoons unsalted butter, melted
1 pound cream cheese, softened
1/2 teaspoon pure vanilla extract
2 large eggs, lightly beaten
1/2 cup sour cream
pinch of salt
1/2 cup apricot jam

Preheat oven to 350 degrees. Line standard muffin tins with paper liners. Mix cookies and 1 tablespoon plus 1 teaspoon sugar in a bowl. Stir in butter. Press 1 tablespoon of mixture in bottom of each cup. Bake until set, about 7 minutes. Let cool in tins on wire racks.


Reduce oven temperature to 275 degrees. Beat cream cheese with a mixer on medium speed until smooth. Add remaining 1/2 cup sugar, then vanilla. With mixer running, add eggs slowly, scraping down side of bowl. Add sour cream and salt. Pour batter into muffin cups, filling almost to the tops.

Bake until sides are set but centers are wobbly, about 20 minutes. Let cool in tins on wire racks. Wrap tins tightly with plastic, and refrigerate 4 hours or overnight.


Warm Jam in a small saucepan until liquidy. Strain through a sieve. Spoon 1 teaspoon jam on top of each cake. Cheesecakes will keep, covered and refrigerated, for up to 3 days.

Saturday, July 17, 2010

Corn Bread Bites


Summer so far has been hot and vicious, so I have not been baking lately. It is just too hot for it. Though I had made corn bread bites for a brunch a few month's ago and never got around to posting about them. They are a perfect summer food for brunch or for a side. When I made these, I decided to make 3 different kinds which included jalapeno and white Grafton cheddar, orange and rosemary, and dill and sour cream. I made all savory dishes, because as much as I love sweets there is nothing more I love then savory sweets.

Corn Bread Bites - adapted from Martha Stewart Living

Unsalted butter, softened, or vegetable oil cooking spray, for tin
1 cup flour
1 cup course yellow cornmeal
1/4 cup plus 2 tablespoons sugar
1 1/2 teaspoons baking powder
1/4 teaspoon salt
1 cup buttermilk
1 large egg, lightly beaten
1/4 cup safflower oil

Jalapeno and White Grafton Cheddar
3/4 teaspoon finely chopped Jalapeno Chile
1/4 cup plus 2 tablespoons grated White Grafton Cheddar

Orange-Rosemary
1/4 teaspoon finely grated orange zest
1/4 teaspoon finely chopped rosemary
1/4 teaspoon freshly ground pepper

Dill and Sour Cream
1 teaspoon Dill
1/2 cup sour cream

Preheat oven to 375. Lightly butter a 12 cup mini muffin tin or coat with cooking spray.
Whisk together flour, cornmeal, sugar, baking powder, baking soda, and salt.

Combine buttermilk, egg, and oil. Stir buttermilk mixture into flour mixture until combined. Divide batter into 3 batches (1 cup each), and stir a flavor combination into each.

Fill cups of muffin tin 3/4 full with 1 batch of batter. Bake until tops are golden and a toothpick inserted into centers comes out clean, about 12 minutes. Transfer to a wire rack, and let cool for 5 minutes. Turn out muffins from tin. Repeat with remaining batter. Serve warm or at room temperature. Muffins can be stored at room temperature for up to 2 days.


Thursday, June 17, 2010

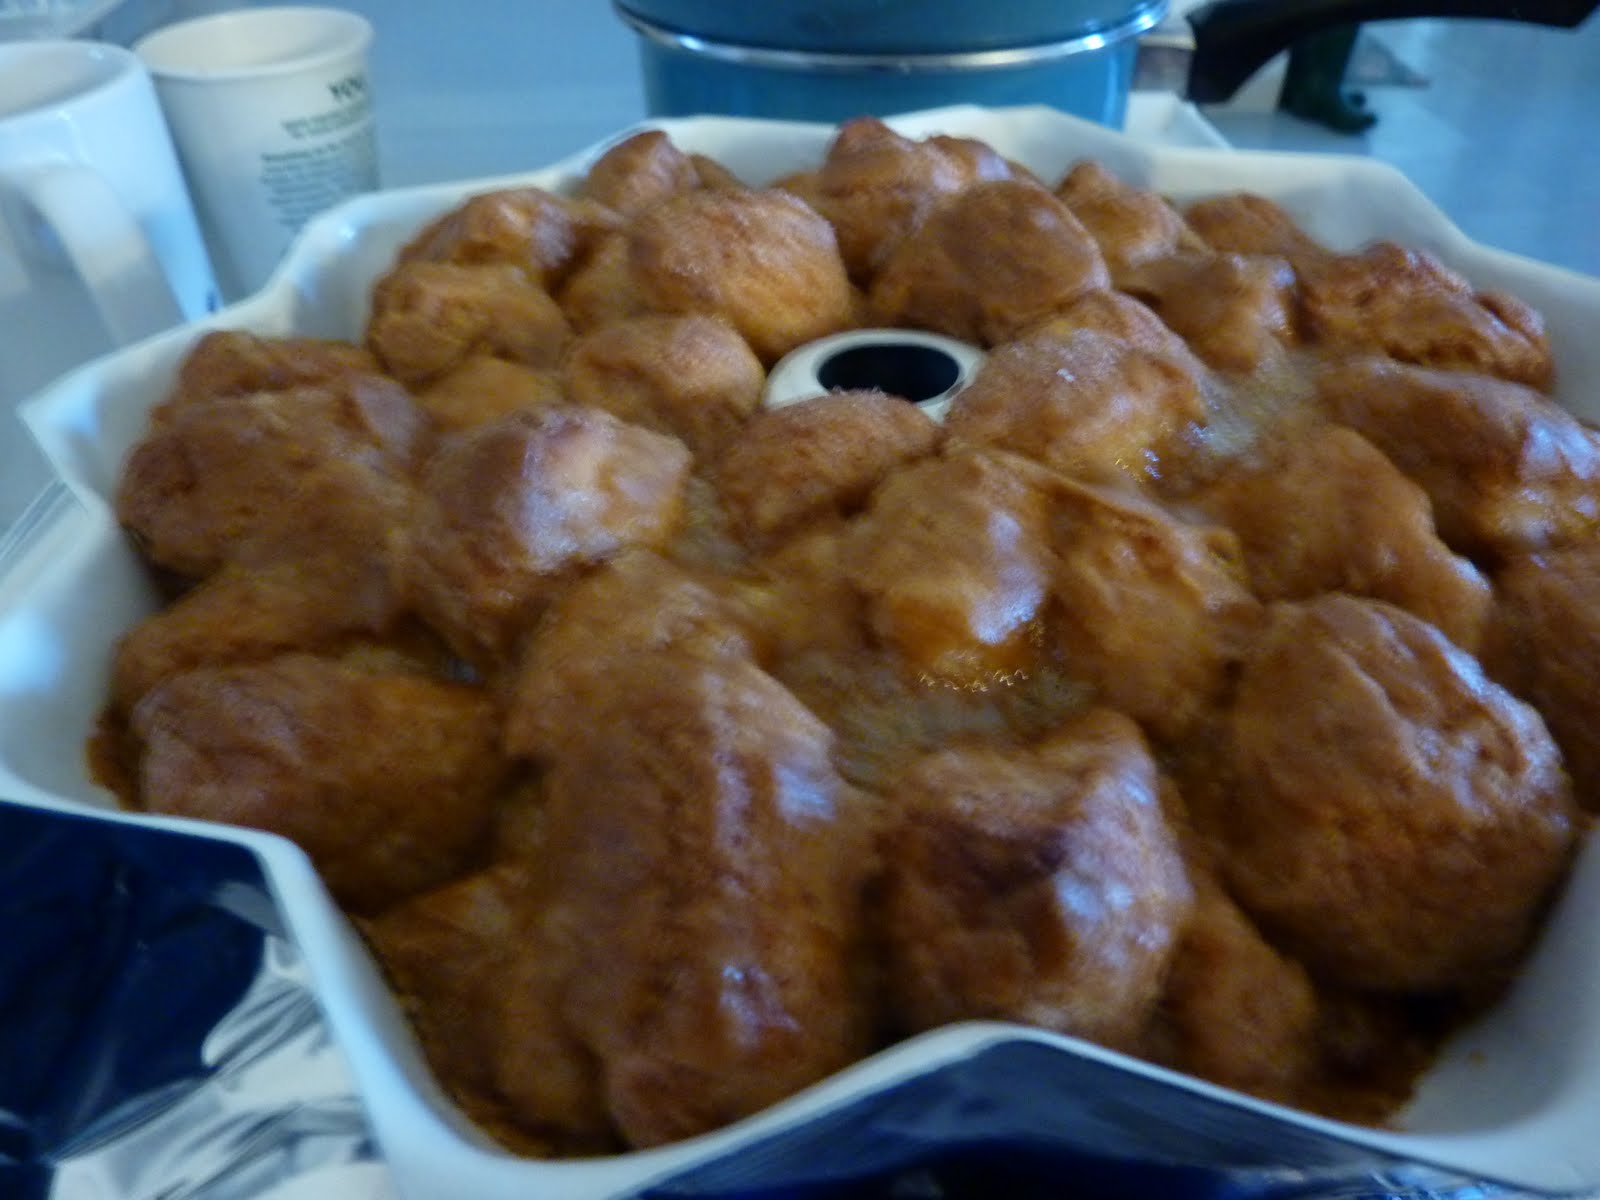
Monkey Bread - The way my mom makes it.


When I was a child my mother would always make Monkey Bread for special occasions. She would make it for Christmas morning or for Birthday's, so now it has become my go to, easy crowd pleasing brunch dish. A while back Caycee had a brunch, and I am slowly posting about each dish I made for it. I made all the food! It was my unofficial first catering gig! This dish was requested by Caycee, so even though its not all made from scratch, it is still always baked with pure love. Its total mid-west food; I mean come on, it uses canned biscuits! On a side note, it may be easy, but my sister failed miserably when she tried to make it for Christmas this past year - she used Grands biscuits - don't do that, stick to the cheap 4 pack.

Monkey Bread - Cyndie Medin

3 (10 count) pkg buttermilk refrigerator biscuit
1 Cup sugar
2 tsp cinnamon
1 Cup brown sugar
1 Stick (1/2 Cup) butter or margerine (I would stick to butter)

Mix cinnamon and sugar in large plastic zip lock bag.
Cut biscuits into fourths with scissors or sharp knife.
Place cut up biscuits in sugar mixture and shake. Stack pieces on top of each other in greased bunt pan.

Melt brown sugar and butter; boil 1 minute

Pour melted butter mixture over biscuits in bunt pan.

Bake 35 min at 350 degrees F. Set 10 min and then flip over and remove from pan.


Sunday, May 30, 2010

Asparagus Gruyere Tart


I haven't posted in awhile, because I went for a short period with no internet, but I'm back now and have some long over due posting to do. I made this Asparagus Gruyere Tart awhile ago for a brunch hosted by Caycee Black. It's a simple dish with only a few ingredients which makes it an easy dish for a party. I made many dishes for her brunch that day, and this was actually probably the last one I made and the first to be blogged about. Good thing it is easy, because I was exhausted at this point and it still came out flawless.


Asparagus Gruyere Tart - Martha Stewart

Flour, for work surface
1 sheet frozen puff pastry
5 1/2 ounces Gruyere cheese, shredded
1 1/2 pounds medium asparagus
1 tablespoon olive oil
salt and pepper

Preheat oven to 400 degrees. On a floured surface, roll the puff pastry into a 16 x 10 inch rectangle. Trim uneven edges. Place pastry on a baking sheet. With a sharp knife, lightly score pastry dough 1 inch in from the edges to mark a rectangle. Using a fork, pierce dough inside the markings at 1/2" intervals. Bake until golden, about 15 minutes.

Remove pastry shell from oven, and sprinkle with Gruyere. Trim the bottoms of the asparagus spears to fit crosswise inside the tart shell: arrange in a single layer over Gruyere, alternating ends and tips. Brush with oil, and season with salt and pepper. Bake until spears are tender, 20 to 25 minutes.


Monday, March 1, 2010

Ginger Cookies


Last week when out with my friends, I told Matt it was finally his turn to choose a baked good for me to make. I usually let his lady friends choose, or I pick myself. So what does Matt pick, but ginger snaps...who wants ginger snaps this time of year? Matt! After searching through recipes I settled on Martha Stewart's recipe "Giant Ginger Cookies", though I opted out of making the giant size. I didn't really want 5" cookies, plus you get a few more when you make them the normal cookie size.

This recipe was kind of cool because it called for black pepper and allspice. The allspice was kind of difficult to find in my Brooklyn neighborhood, but I finally found it at Khim's Millennium Market. The bottle was kind of dusty and an off brand La Flor, but it wasn't expired, so when you are in need you just have to go for it. As far as the black pepper, I just went for it. I was hoping I didn't make a huge mistake then reading the recipe comments on Martha's website, since most reader's tended to leave it out. I made the right decision leaving it in, because DAMN these cookies are good!

Matt you've made me, Kerstin and Chlo believers in the Ginger Cookie. Thanks!

Ginger Cookies - Martha Stewart

2 1/2 cups all-purpose flour
2 1/4 teaspoons baking soda
1/2 teaspoon salt
1 tablespoon ground ginger
1/2 teaspoon ground allspice
1/2 teaspoon ground pepper
3/4 cup (1 1/2 sticks) unsalted butter, room temperature
1/2 cup packed light-brown sugar
1/2 cup granulated sugar, plus 1/3 cup for coating
6 tablespoons molasses
1 large egg

In a medium bowl, whisk together flour, baking soda, salt, ginger, allspice, and pepper.

With an electric mixer, cream butter, brown sugar, and 1/2 cup granulated sugar until light and fluffy. Beat in molasses and egg. With mixer on low, gradually beat in flour mixture until just combined. Flatten into a disk, wrap in plastic, and freeze for 20 minutes.


Preheat oven to 350 degrees, with racks in upper and lower thirds.

Divide dough into twelve 2-inch balls. (I divided mine into about 1-inch balls) Place remaining 1/3 cup granulated sugar in a bowl. Roll balls in sugar to coat; place at least 4 inches apart on prepared baking sheets. (I placed mine about 2 inches apart) Flatten into 3-inch rounds. Sprinkle with sugar remaining in bowl.


Bake until brown, rotating sheets halfway through, 12 to 15 minutes. Cool cookies on a wire rack.


Wednesday, February 17, 2010

Caramels


I now work in a different neighborhood since starting my new job, and I've been eating lunch at a salad place called Chop't often. Now what do salads have to do with baking? Well they have this massive jars of caramels staring me in the face everyday, so of course every time I go in there I end up leaving with caramels as well as my salad. While eating them I kept thinking I could make these, I knew they must be made with brown sugar, butter and some other stuff, so I started reading caramel recipes. I thought I've been pretty lucky with baking, because everything I've made has turned out really well. But I have been humbled by the world of caramel making. While attempting to make these tasty little treats, I turned into some sort of mad scientist! Candy making is very timed out, and very specific. I now currently have caramel permanently inside of my cheap stove top, because the caramel boiled all over the place, due to me not having a big enough pot. I will definitely be buying bigger pots for my future candy making.
After removing about 1/4 of the cooking caramel, I was able to finish the candy. They taste and look great, but even after all of my boiling over mishaps were over, the next day I found all of my caramel melted back together. I have learned keep them in the fridge, but let them sit out for about 10 minutes before eating, so they are soft and chewy.

New Mexico Caramels - Nancy Baggett

1 cup granulated sugar
1 cup packed light brown sugar
1 cup dark corn syrup
16 tablespoons (2 sticks) unsalted butter, cut into chunks
1/8 teaspoon salt
2 cups heavy (whipping) cream
1 tablespoon vanilla extract, combined with 1 tablespoon hot water

Line a 9x13" baking dish with aluminum foil, allowing the foil to overhang two sides. Grease the foil or evenly coat with nonstick spray.

In a heavy, nonreactive 6-quart pot, thoroughly stir together the sugars, corn syrup, butter, and salt. Stir in the cream until the sugars dissolve. Bring to a boil over medium-high heat, stirring constantly with a wooden spoon. If any sugar remains on the pot sides, wipe it away with a pastry brush dipped in warm water.

Adjust the heat so the mixture boils briskly. Clip a candy thermometer to the pot side, with the tip immersed but not touching the bottom. Continue boiling briskly, occasionally gently stirring and scraping the pot bottom, until the mixture thickens and darkens somewhat, 8 to 9 minutes. Reduce the heat slightly and continue boiling, gently stirring and scraping the pot bottom to prevent scorching, until the caramel reaches 246 to 247 degrees F. Watch carefully, as the temperature may rise rapidly near the end of cooking. Immediately remove from the heat. Working carefully to avoid splattering, gently stir in the vanilla mixture (I dumped mine in, the recipe wasn't kidding about gently - mad scientist bubbles, but it was ok still just scary). Carefully pour the caramel into the baking dish; do not scrape out the pot.

Let cool until thoroughly set, at least 1 1/2 hours. To aid in cutting the caramels, refrigerate for 15 to 20 minutes - though if they are in too long, they will be too hard to cut. Carefully peel off the foil. Wipe away any excess oil from caramel slab using a paper towel. Place the slab on a cutting board, using a large sharp knife cut the slab into eighths lengthwise and twelfths crosswise (or as desired). Wrap caramels individually in wax paper. I failed at this, because I had parchment paper, I guess there is a difference.

The caramels will keep in the refrigerator for up to 3 weeks. Let come almost to room temperature before serving.

href="https://blogger.googleusercontent.com/img/b/R29vZ2xl/AVvXsEi_tc6giIEaE9G_uEYfVPQFEC-yfi9wSkj8ZnZd8FLUO7fzKw3mLDxUR0amZ4-47LHL4GSiBwiTJ5oop2-e91LUGoK_GNJjUwFYYBtoQK6NirqDcW4gTCCU-xMr1judbzHO_3XdE63rz_k/s1600-h/P1000343.JPG">

href="https://blogger.googleusercontent.com/img/b/R29vZ2xl/AVvXsEi3V2AYKzgW90MOvkcY0dkCzECfP265_AF9KRiHZhilQiO6K_AmN7a9Am5zI0uOMAuZW8S0JA1qeDnQWeTuCgXWQSv6UXhNd8LZH9dN49WBre7ztz8ZYo7vPqeWogprxixPsyvtr58fiEA/s1600-h/P1000346.JPG">


Monday, February 1, 2010

Chocolate Chip Cookies


I made these chocolate chip cookies 2 weeks ago and am just now getting around to posting them. I went to Miami for a week before starting my new job, and since Chlo was kind enough to take care of Monster for me while I was gone, I told her to pick out something for me to bake and leave for her while I was gone. Chlo chose chocolate chip cookies, except she wanted them to be like her mom's, which meant the bottoms burnt. I've never had her mom's cookies, so I didn't really have anything to compare to, and probably should have gotten in touch with her to get her actual recipe. I tried my hardest to burn them, but burning cookies is like wearing a new pair of shoes in the rain, to me it should be avoided at all cost. The first batch I got a few to burn, but for the second I just couldn't do it. Also my cookies were nice and round, and i'm pretty sure her mom's are flat. So I failed at giving Chlo her Mom's cookies, but the cookies themselves turned out wonderful. I used a recipe from my baking class at ICE (The Institute of Culinary Education, in NYC), which I myself did not make during that class, but other classmates did and they were awesome, so I decided that this would be a good recipe to start from. Oh and also Chlo told me her mom's cookies were buttery, so I went for a recipe that had a lot of butter in it, this recipe has 2 sticks were as a lot I looked at only had 1 stick.


Chocolate Chip Cookies - Nick Malgieri's Baking Classes

For successful cookies, do not over beat the dough during mixing.

2 sticks soft butter
1/2 cup brown sugar, light or dark
1/2 cup granulated sugar
2 eggs
2 1/2 cups all-purpose flour
1/2 teaspoon baking soda
12 ounces (1 large bag) chocolate chips

Beat butter with sugars to mix, then beat in eggs, one at a time, until smooth.
Mix flour and baking soda together and stir into butter mixture, then stir in chocolate chips.
Pipe batter on paper-lined pans 1" mounds, leaving room for cookies to spread. (I used a cookie scoop and didn't line my pans).
Bake at 375 degrees about 15 minutes.